Getting started
Sign in, understand the dashboard, and check your account permissions.
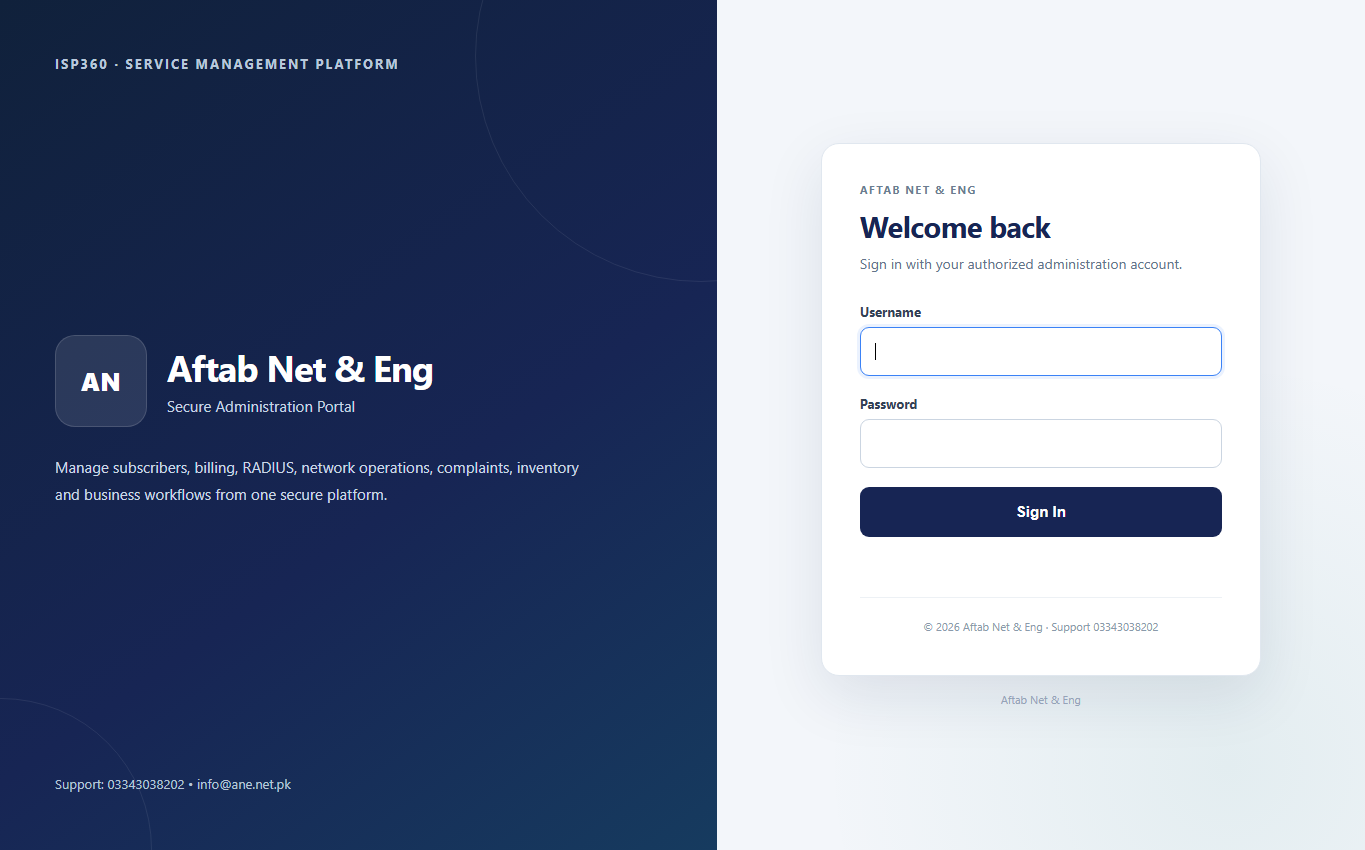
- Open the ISP360 URL supplied by your ISP360 administrator. Sign in with your own account; never share an administrator password.
- Your home screen depends on the role: company staff use the main dashboard; Franchise, Dealer and Sub-Dealer users have a commercial portal.
- Check the sidebar for your authorized modules. Modules can be hidden by role permissions or deployment license.
- Before entering live subscriber data, confirm the correct ISP deployment, timezone, package configuration and RADIUS server.
Roles and account access
Understand who can see and manage which records.
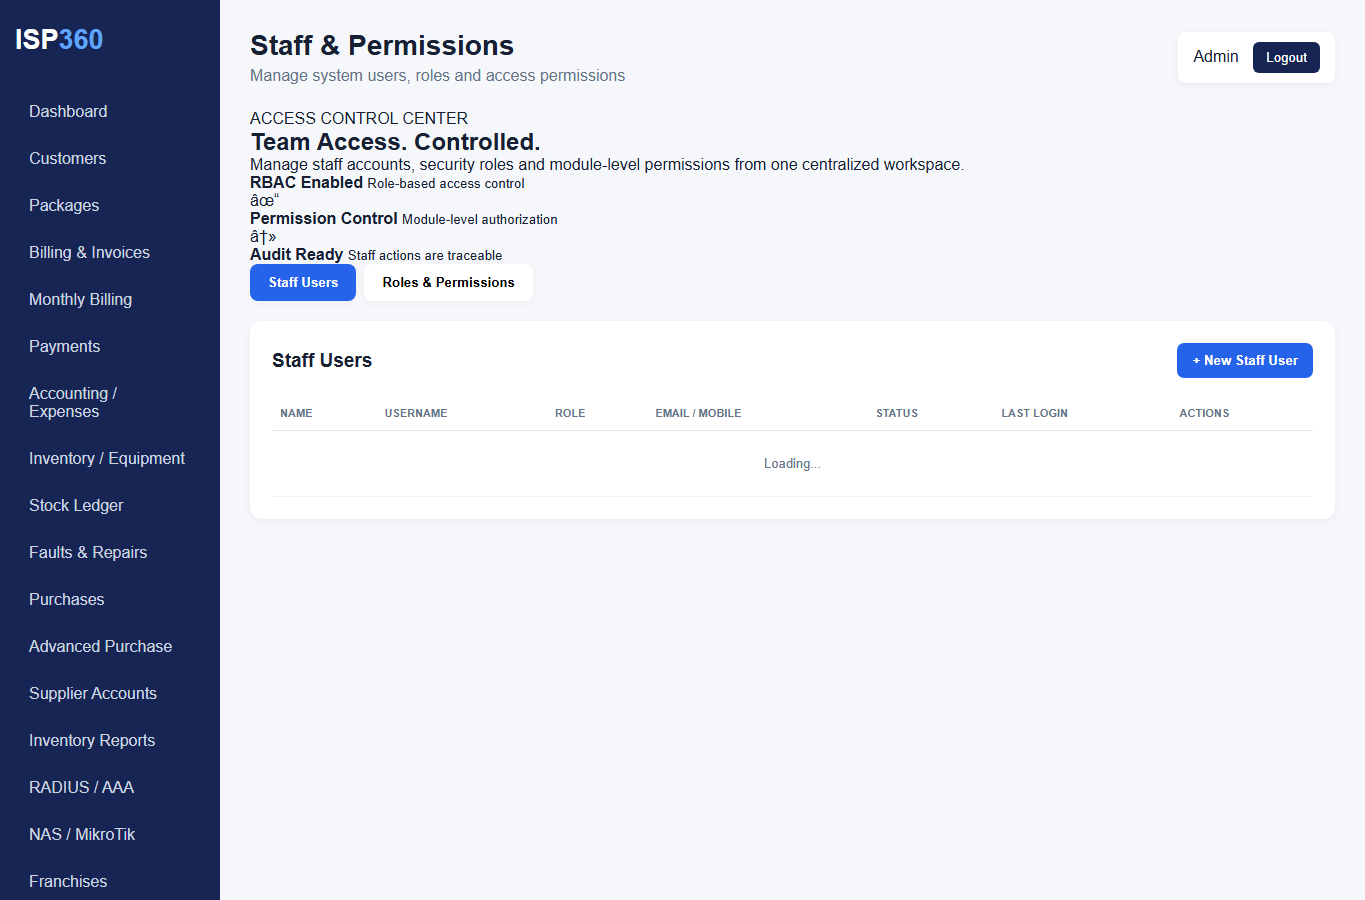
- Company administrators manage the deployment, licensing, staff and authorized company records.
- Franchise accounts see the customer and commercial descendants belonging to their franchise.
- Dealer accounts see their authorized customers and their own Sub-Dealers.
- Sub-Dealer accounts see only their assigned customers and own wallet data.
- Staff actions depend on granted permissions. Seeing a page does not automatically grant permission to modify its data.
Customer accounts
Create, search and update PPPoE customer records.
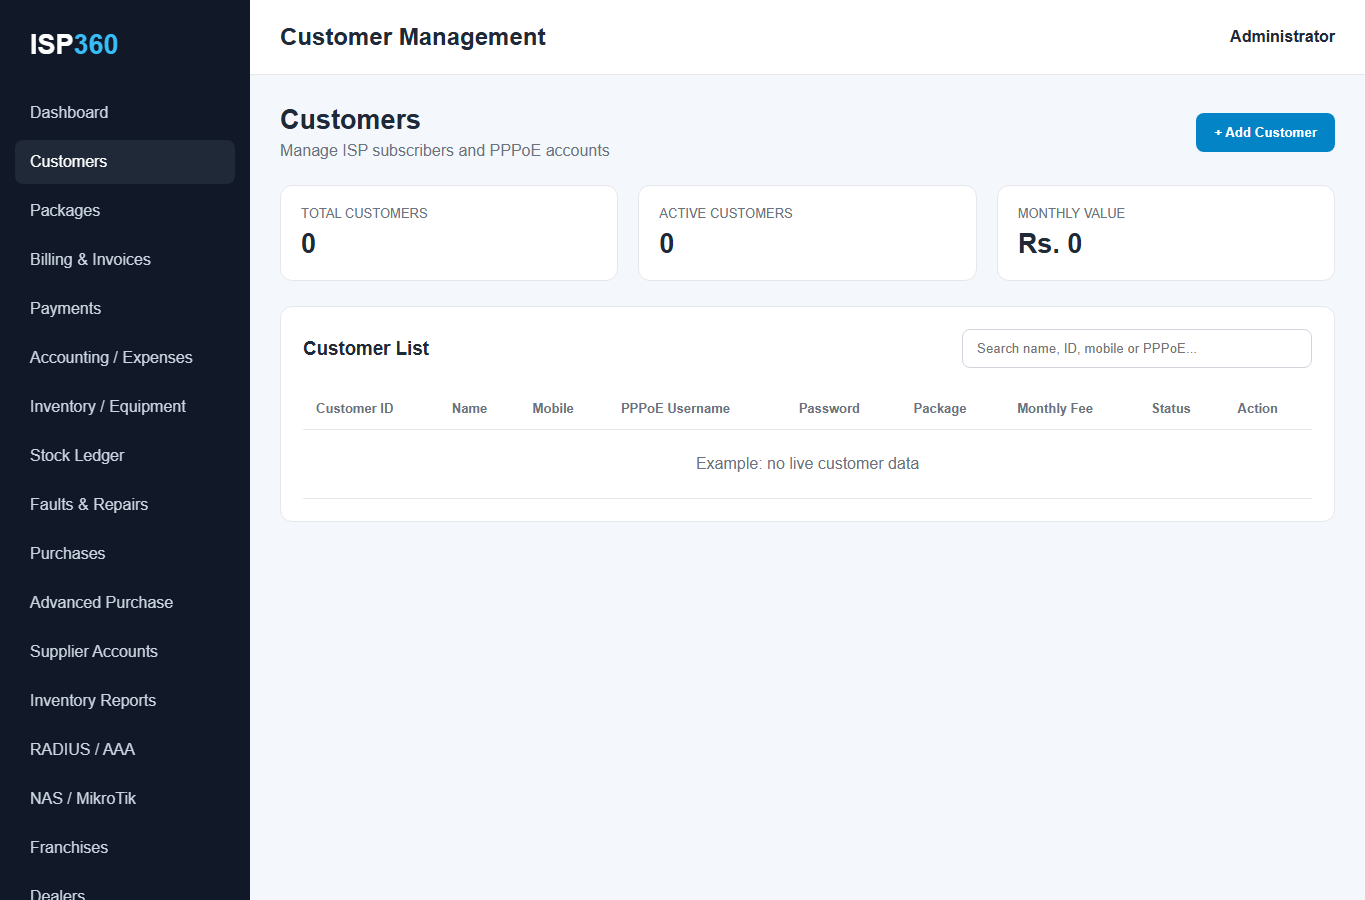
- Open Users - All Users to search by customer name, code or PPPoE username.
- Choose New Connection to enter subscriber identity, contact details, assignment, package and network settings.
- Select an allowed package and the correct Dealer/Sub-Dealer. Parent account assignments control who can view the customer.
- Save, then open the customer's profile to verify package, service status and PPPoE credentials.
- Use Online Users, Offline Users and Expired Users to review account status; these views depend on available session/service data.
Packages and pricing
Set up service plans and authorized selling prices.
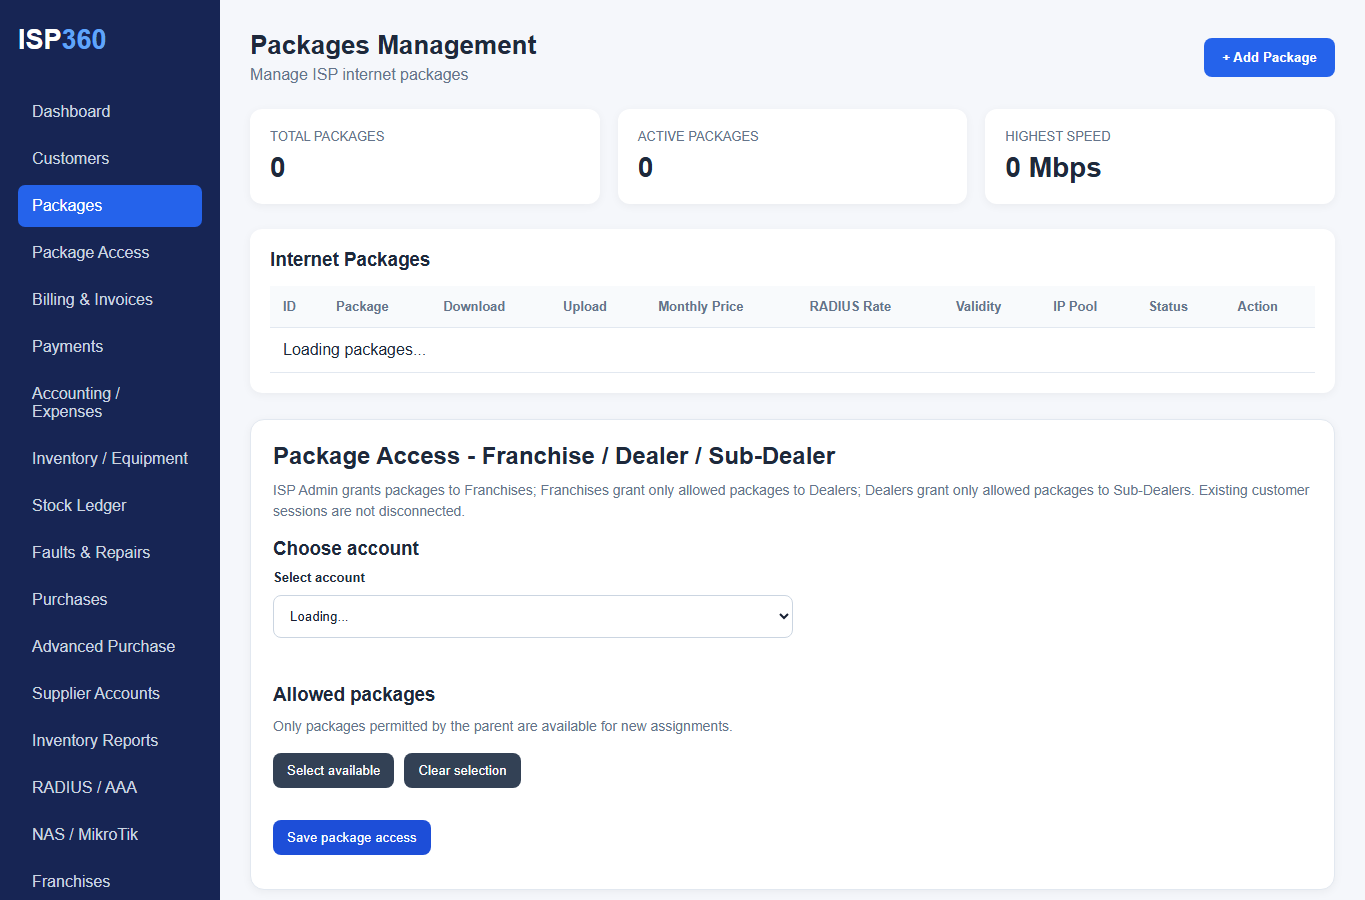
- Company staff open Services - Packages to review package names, limits, prices and status.
- Use the package-access controls to decide which packages Franchise, Dealer or Sub-Dealer users may assign.
- Commercial Pricing displays assigned purchase rates according to the user's place in the hierarchy.
- Authorized Sub-Dealers can set an End User Price in Your Package Rates and save the value.
- Check each customer's actual billed amount separately; saving a default selling rate does not by itself prove that an existing invoice or renewal price has changed.
Franchise / Dealer / Sub-Dealer
Understand ownership, assignments and account scope.
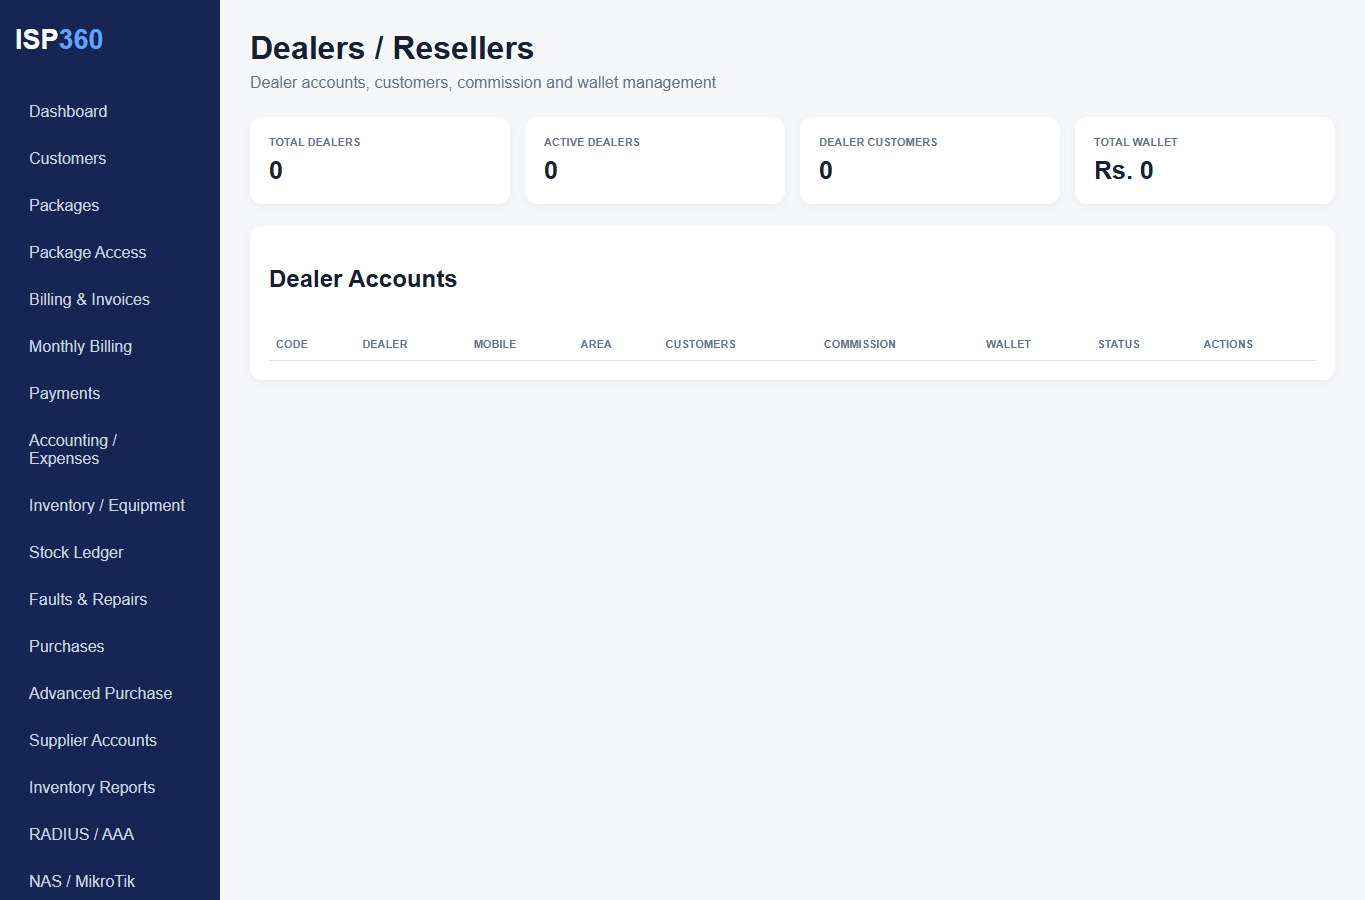
- Company administrator sets up the authorized commercial hierarchy.
- Franchise users can review their Dealers and associated hierarchy when enabled.
- Dealer users manage their assigned Sub-Dealers, according to access permissions.
- A customer belongs to its assigned commercial parent; reassignment must follow the approved workflow.
- Verify both the commercial rate and customer ownership after creating or transferring a record.
Billing and invoices
Review billed, paid and outstanding amounts.
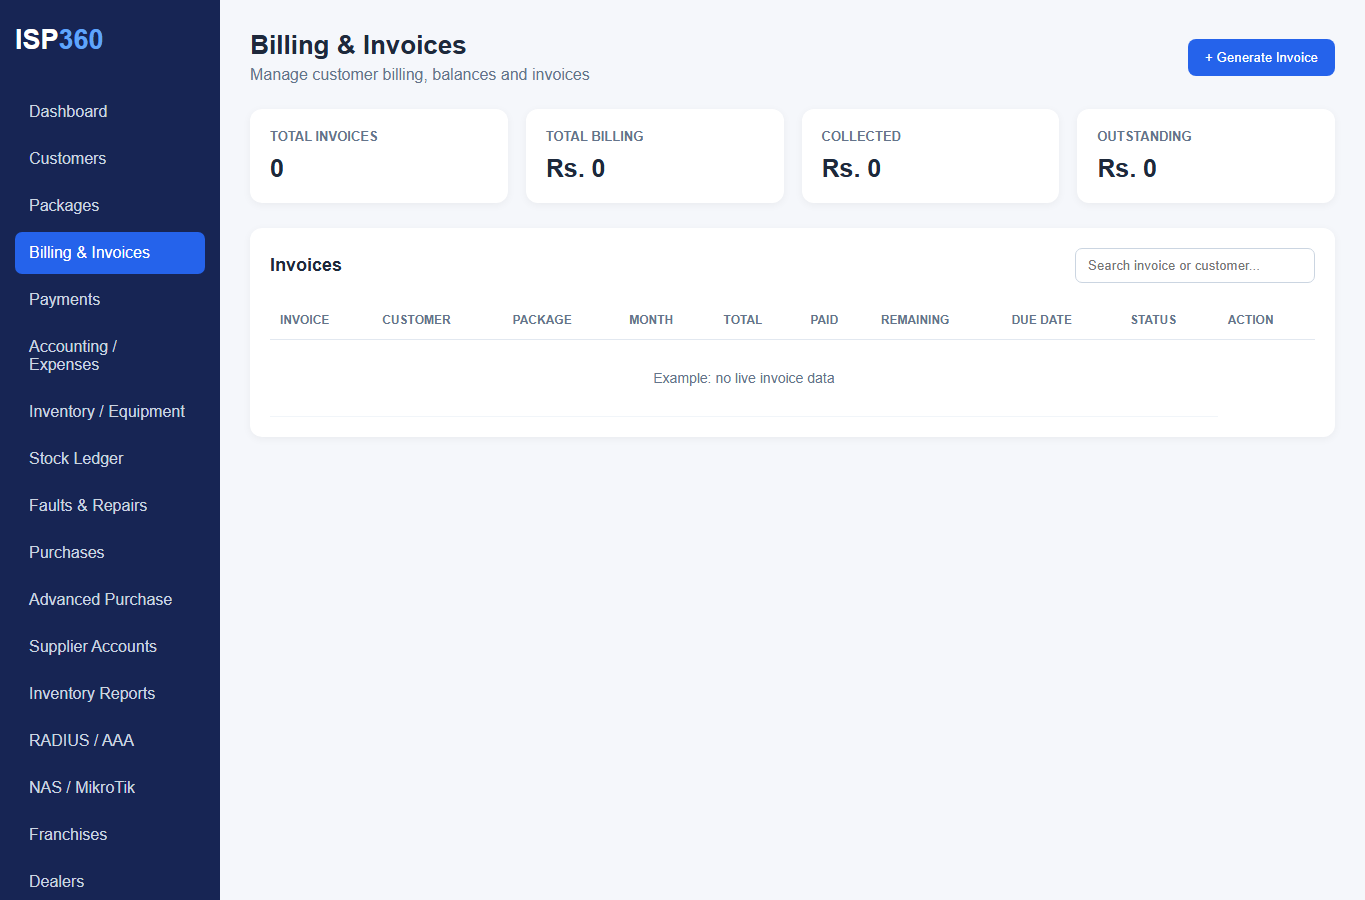
- Open Billing - Billing & Invoices.
- Find a customer or invoice, then review billed amount, discount, previous balance, due date and status.
- Compare Paid Amount against Total Amount to understand the remaining invoice balance.
- Use Monthly Billing only where the module and billing policy have been configured by your ISP administrator.
- If amounts do not match expectations, check the customer package, applicable rates and invoice history before adjusting records.
Bill received / payment history
Find receipts and payment records.
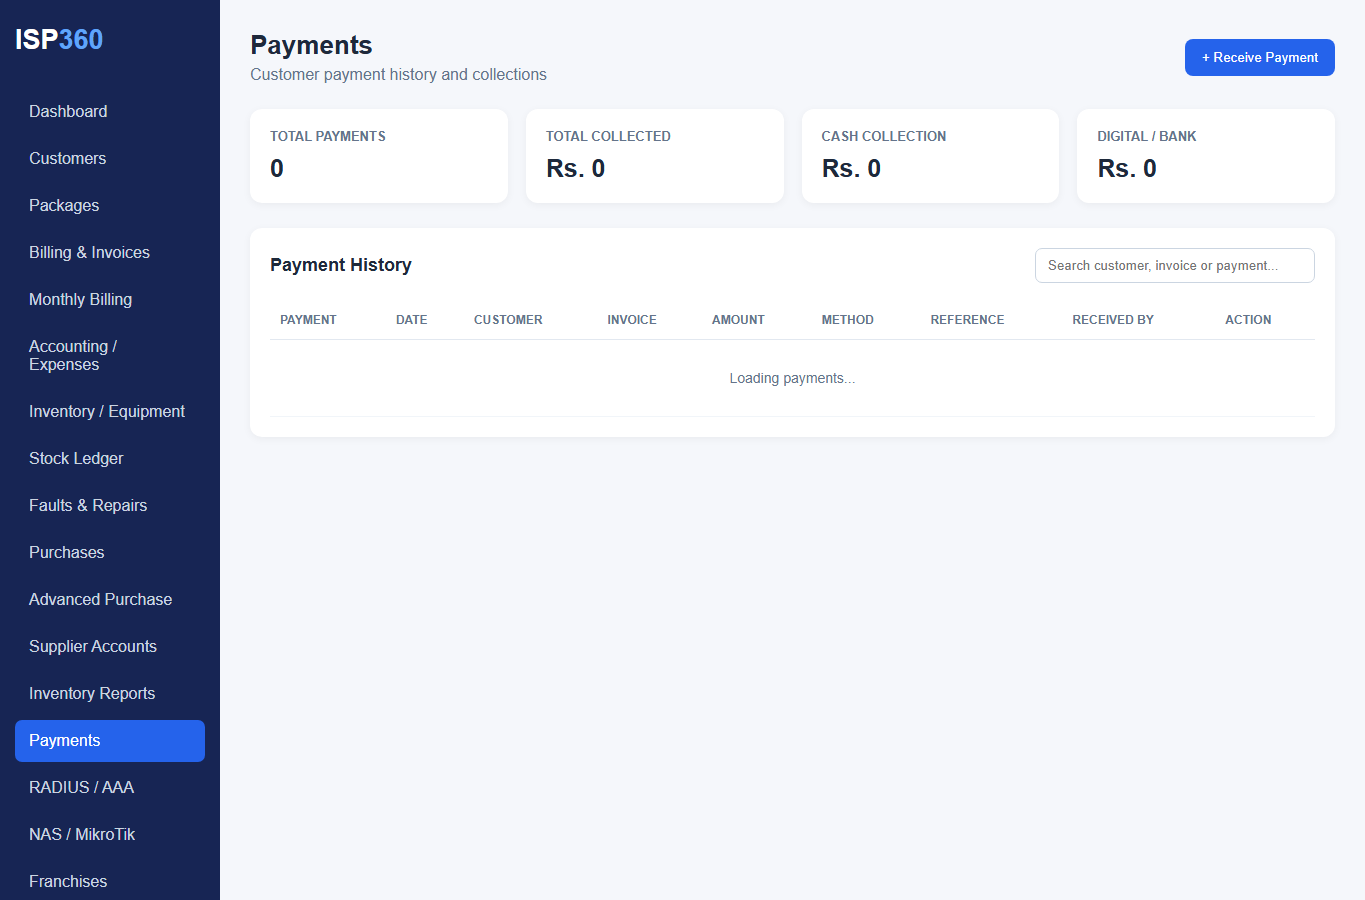
- Open Billing - Bill Received / Payments.
- Review the amount, receipt/payment number, customer, related invoice and payment date.
- Use transaction reference and payment method to reconcile with cash or bank collections.
- Payment creation requires its own permission; being able to view payment history does not allow recording or reversing receipts.
- For a disputed payment, preserve the transaction reference and contact the ISP administrator rather than creating a second receipt.
Wallet and transfers
See balance movements within the commercial hierarchy.
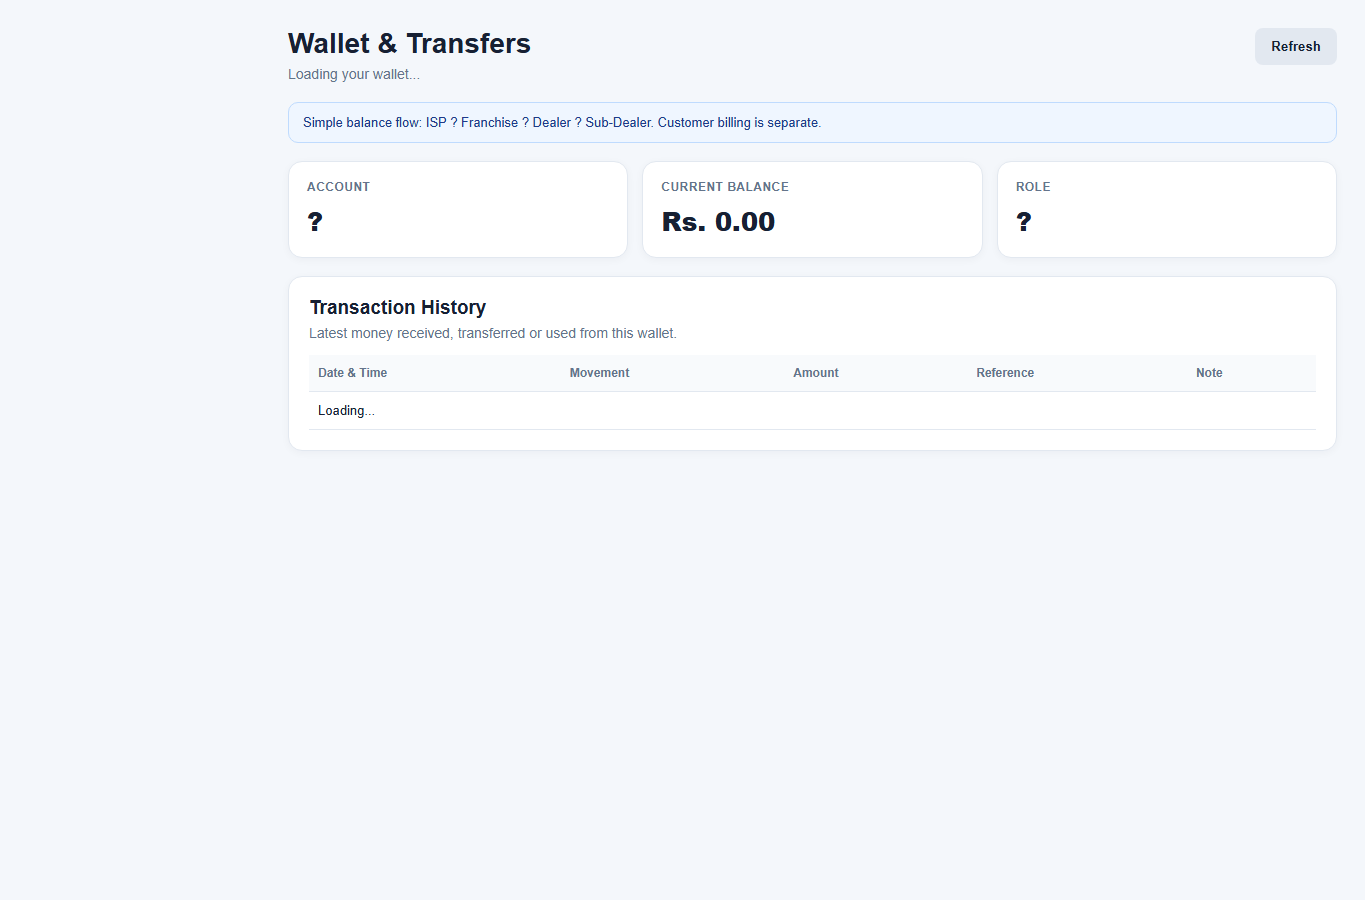
- Open Wallet & Transfers from your commercial sidebar.
- The available balance and recent credit/debit history belong to your authorized wallet.
- Company Admin funds a Franchise; Franchise transfers to its own Dealers; Dealer transfers to its own Sub-Dealers.
- Verify recipient and amount in the confirmation prompt before sending any funds.
- After a confirmed transaction, refresh the wallet and check the reference in its ledger; if a request times out, check history before retrying.
- Sub-Dealer wallet is read-only for the Sub-Dealer account; it cannot credit itself.
RADIUS / AAA
Review subscriber authentication and accounting.
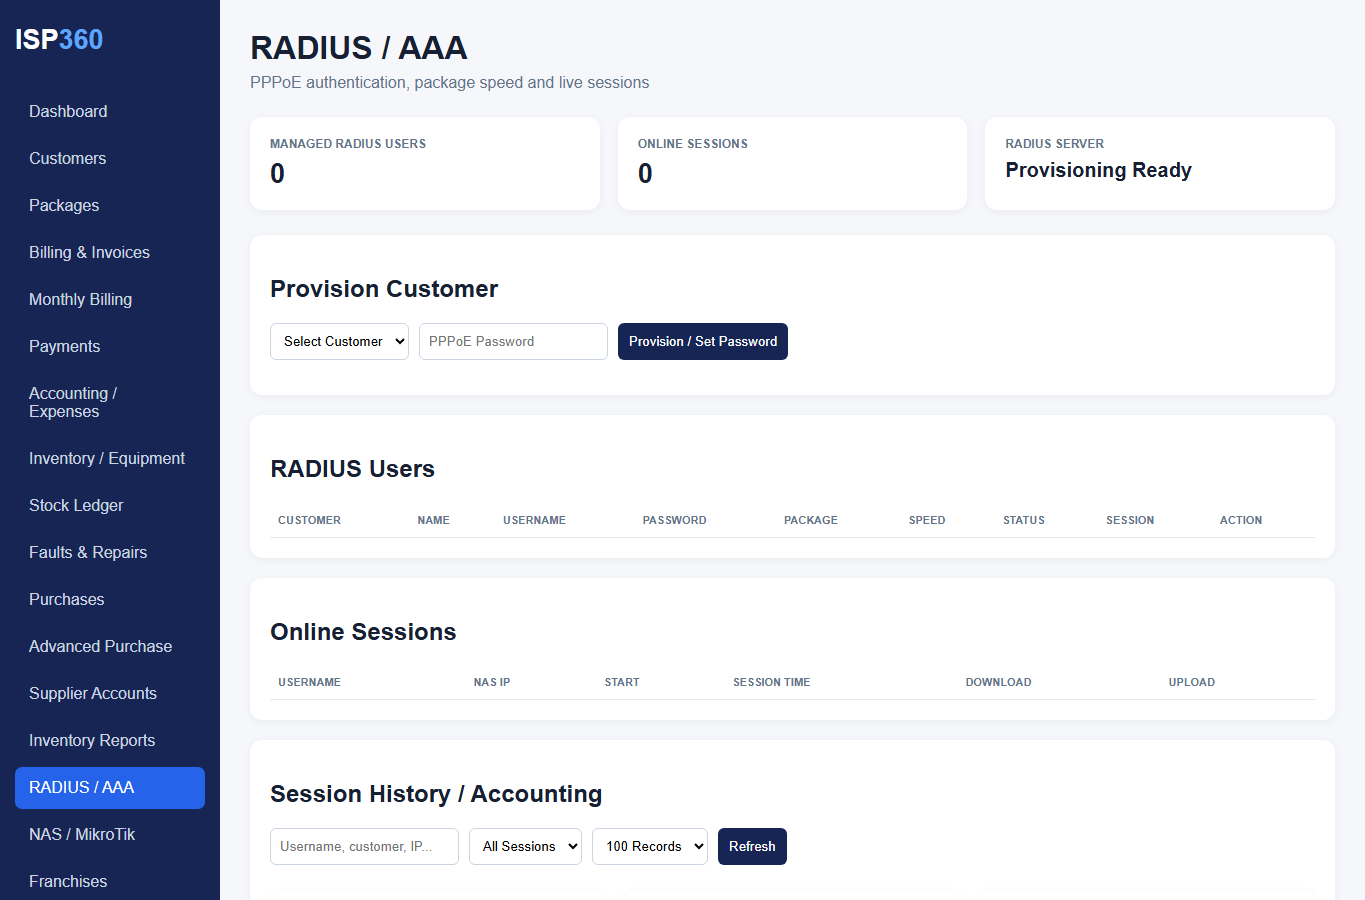
- Open Network - RADIUS / AAA if your deployment includes the module.
- Review NAS authentication and accounting health, including timeout/reject trends.
- Confirm the correct RADIUS shared secret, authentication/accounting ports and reachable management route with the network administrator.
- Check accounting records and subscriber sessions when troubleshooting a login or session-duration issue.
- Use troubleshooting logs before changing live AAA configuration; test changes against a controlled NAS where possible.
NAS and MikroTik devices
Register and inspect authorized access routers.
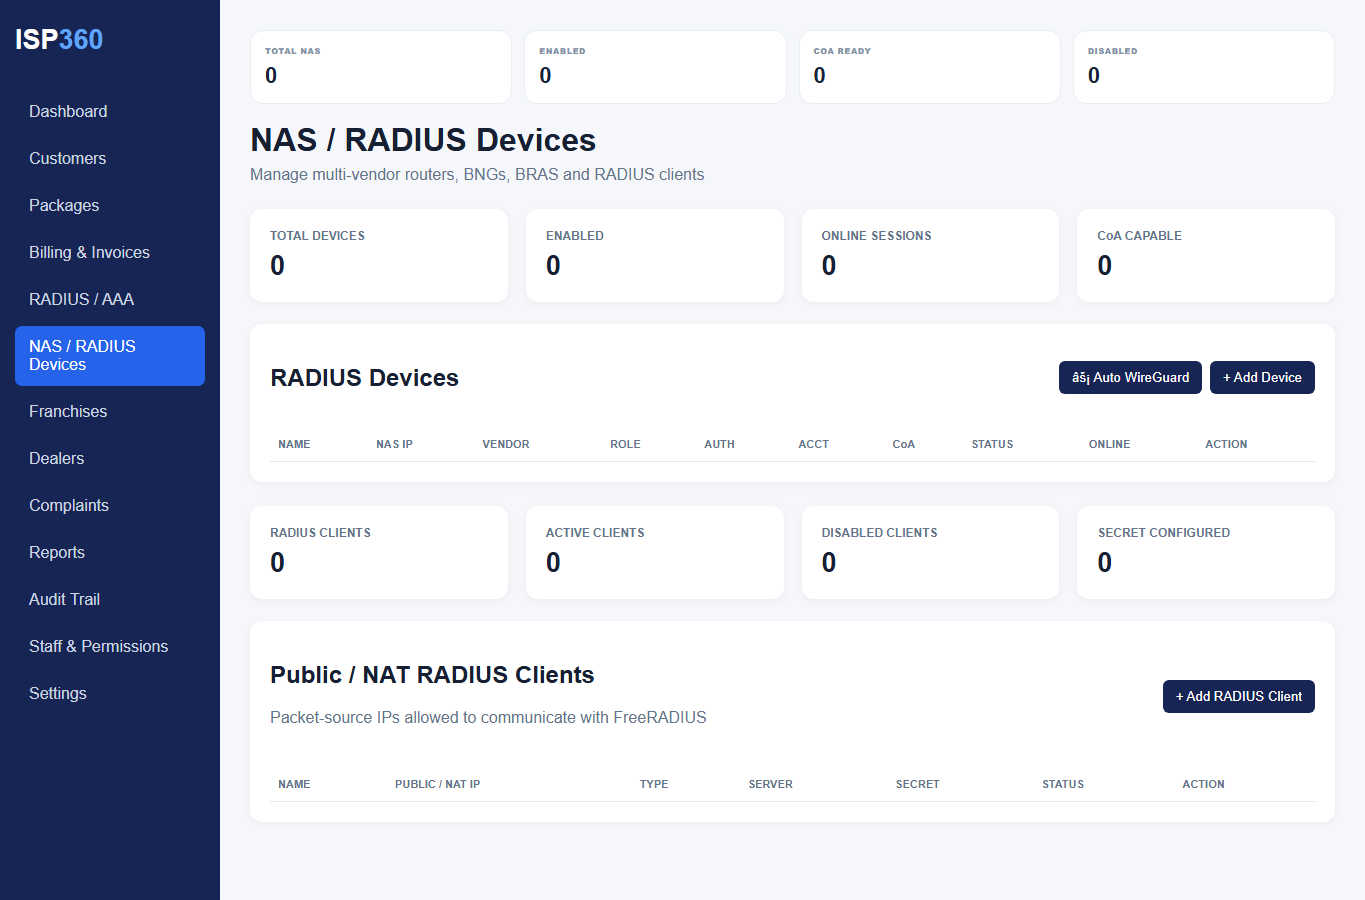
- Open Network - NAS / RADIUS Devices.
- Review registered NAS entries, device identifiers and connectivity details.
- Check the router's RADIUS client settings, allowed source address and accounting configuration.
- For failed authentication, inspect router logs and the matching RADIUS event.
- Remote WinBox/SSH access requires an approved management path; simply registering a NAS does not make WinBox available in the browser.
IP pools and speed policies
Control service-level addressing and rate limits.
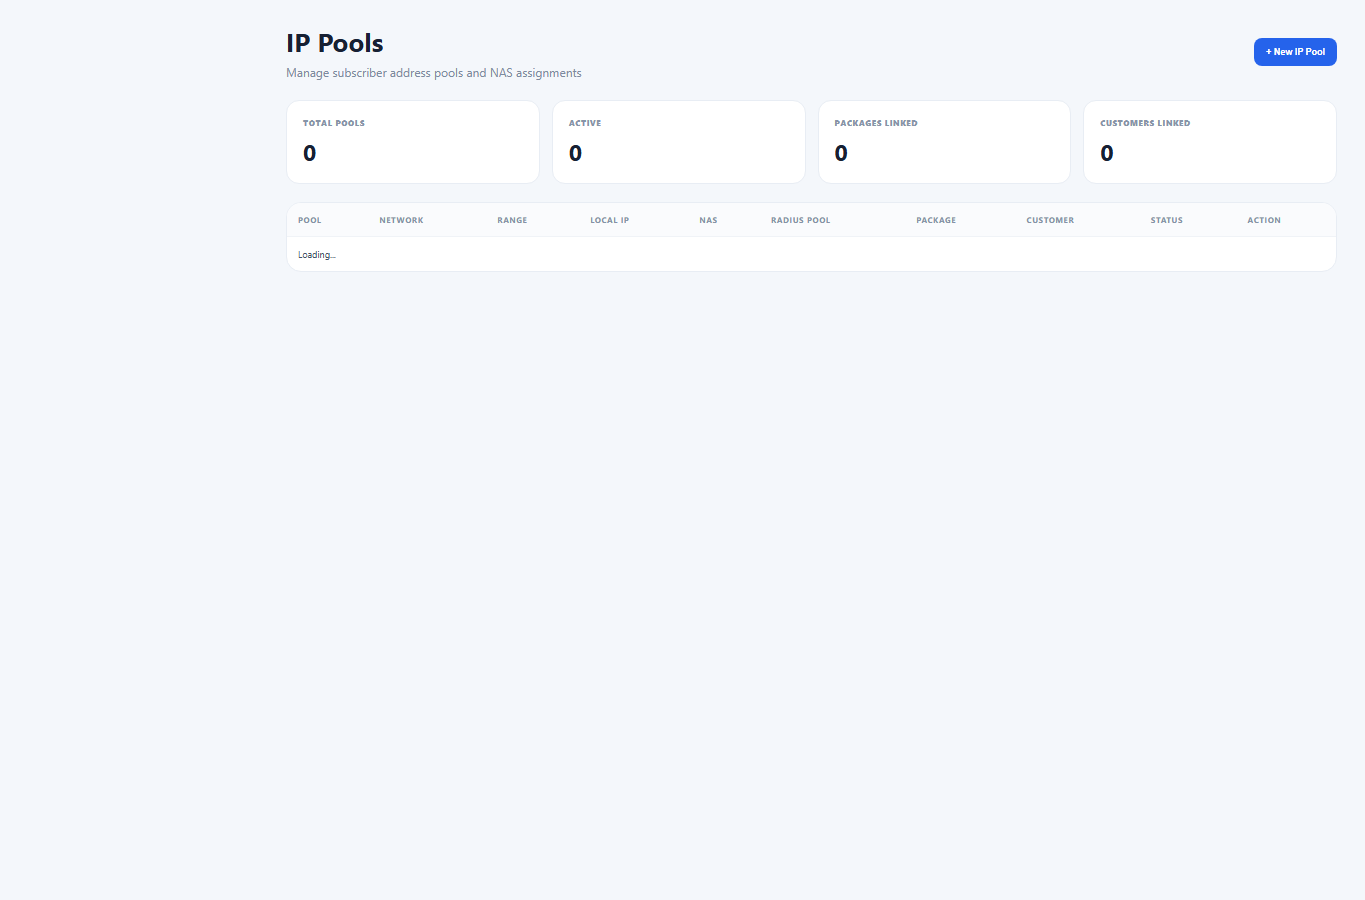
- Review Network - IP Pools for configured address or pool mappings.
- Check that a customer's package/profile references an appropriate IP pool.
- Review Speed / Policy Profiles and Live Speed Policy where your licensed deployment exposes them.
- Validate profile attributes and vendor support before changing live speed or address settings.
- Test with one subscriber before applying a policy to a large customer population.
Connection and login logs
Diagnose PPPoE access issues.
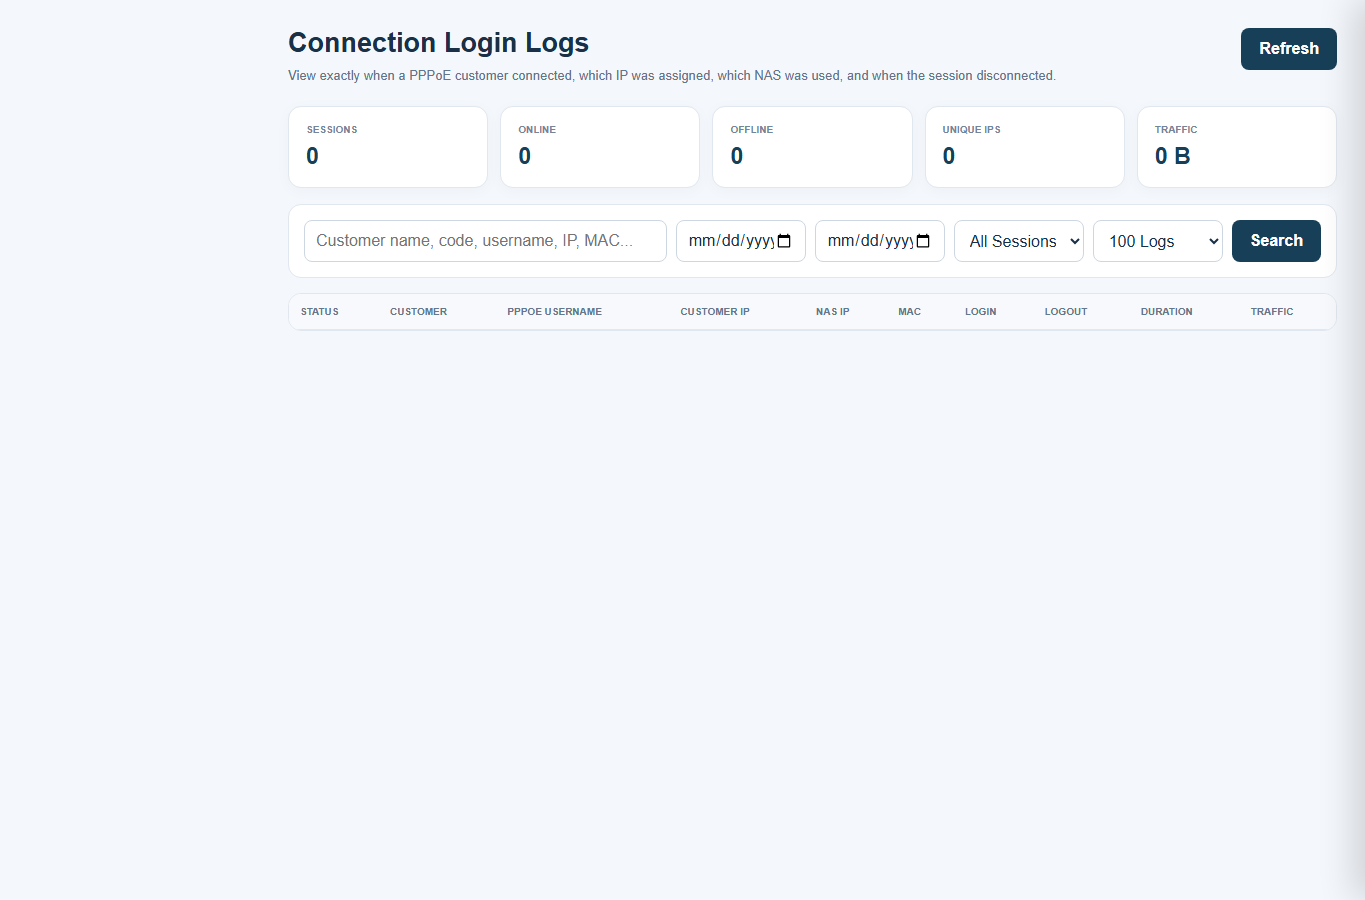
- Open Connection User Logs to inspect session events available to your role.
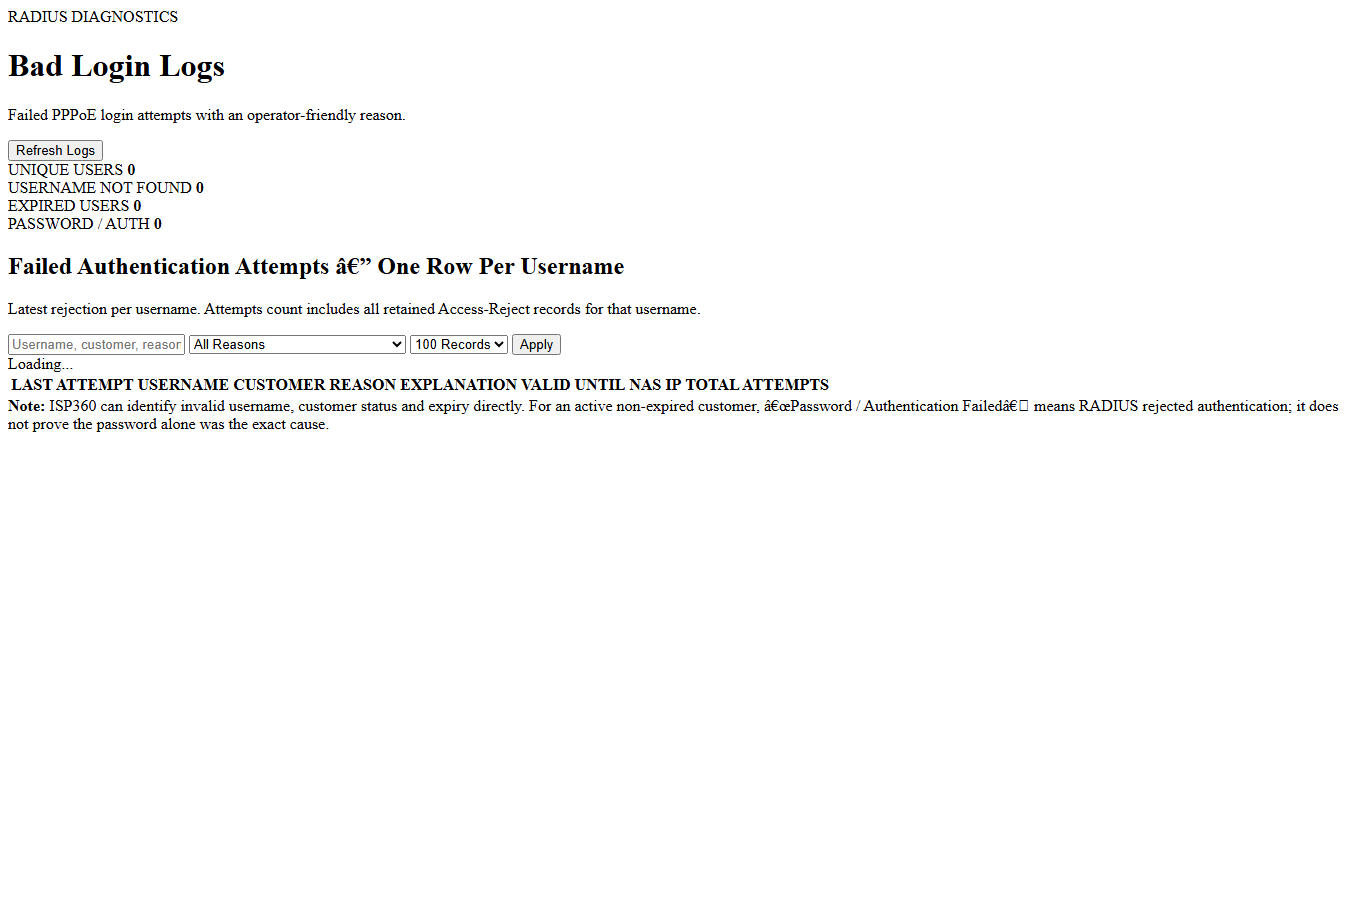
- Open Bad Login Logs to review failed login attempts and reject reasons.
- Check username spelling, customer status, NAS identity and credentials.
- Separate an incorrect password rejection from a RADIUS timeout or unreachable NAS.
- Escalate persistent timeout spikes with relevant timestamps and device identifiers.
Equipment and stock
Track ISP equipment and stock movement.
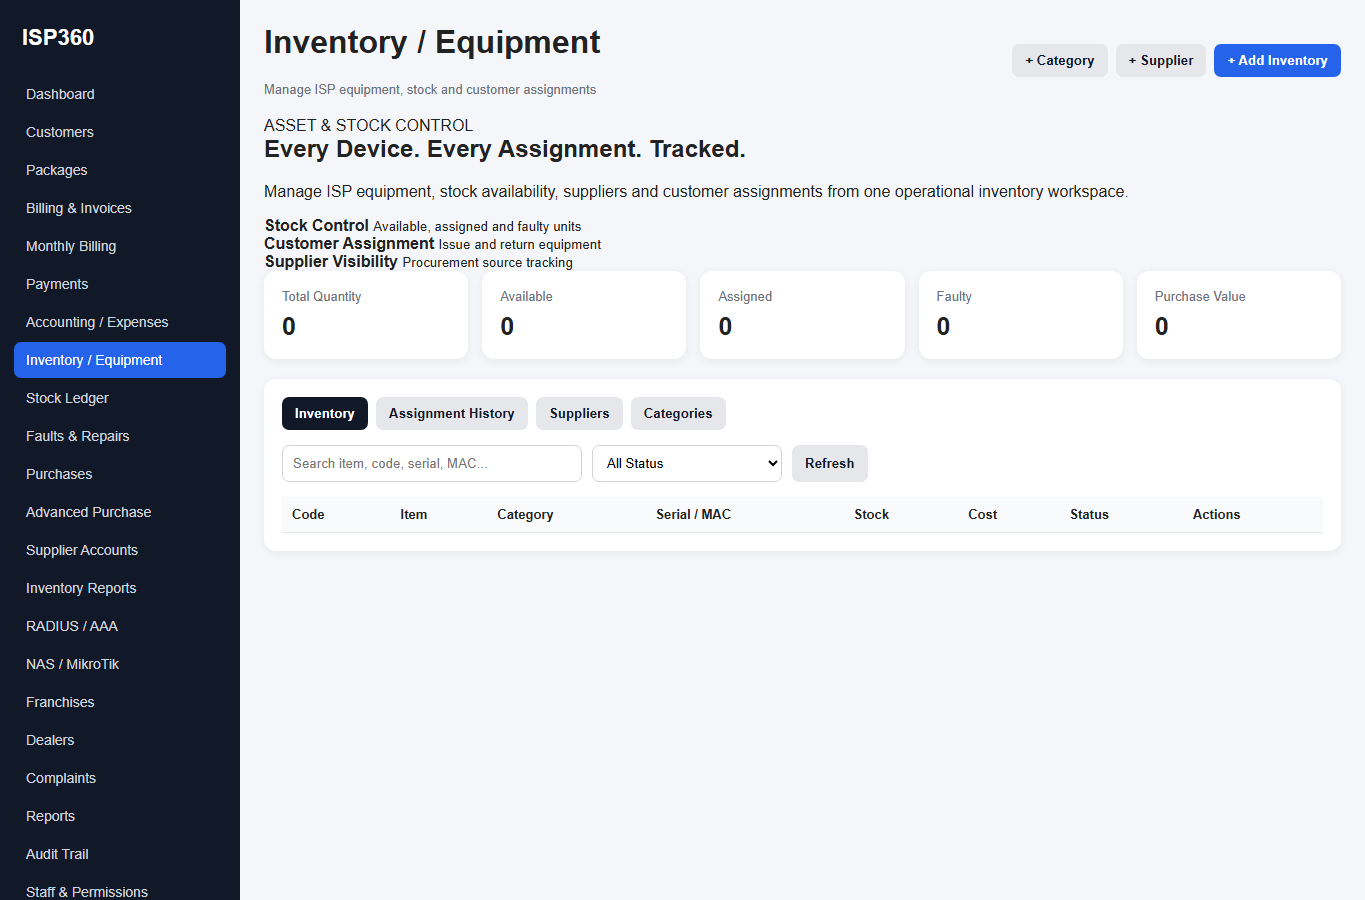
- Open Inventory / Equipment to review devices or stock items.
- Use Warehouses and Stock Ledger to track authorized stock locations and movement.
- Record purchases in Procurement where enabled, checking supplier and quantity.
- Use Faults & Repairs to follow damaged or returned equipment.
- Reconcile physical stock with system records regularly.
Customer complaints
Keep subscriber issues traceable.
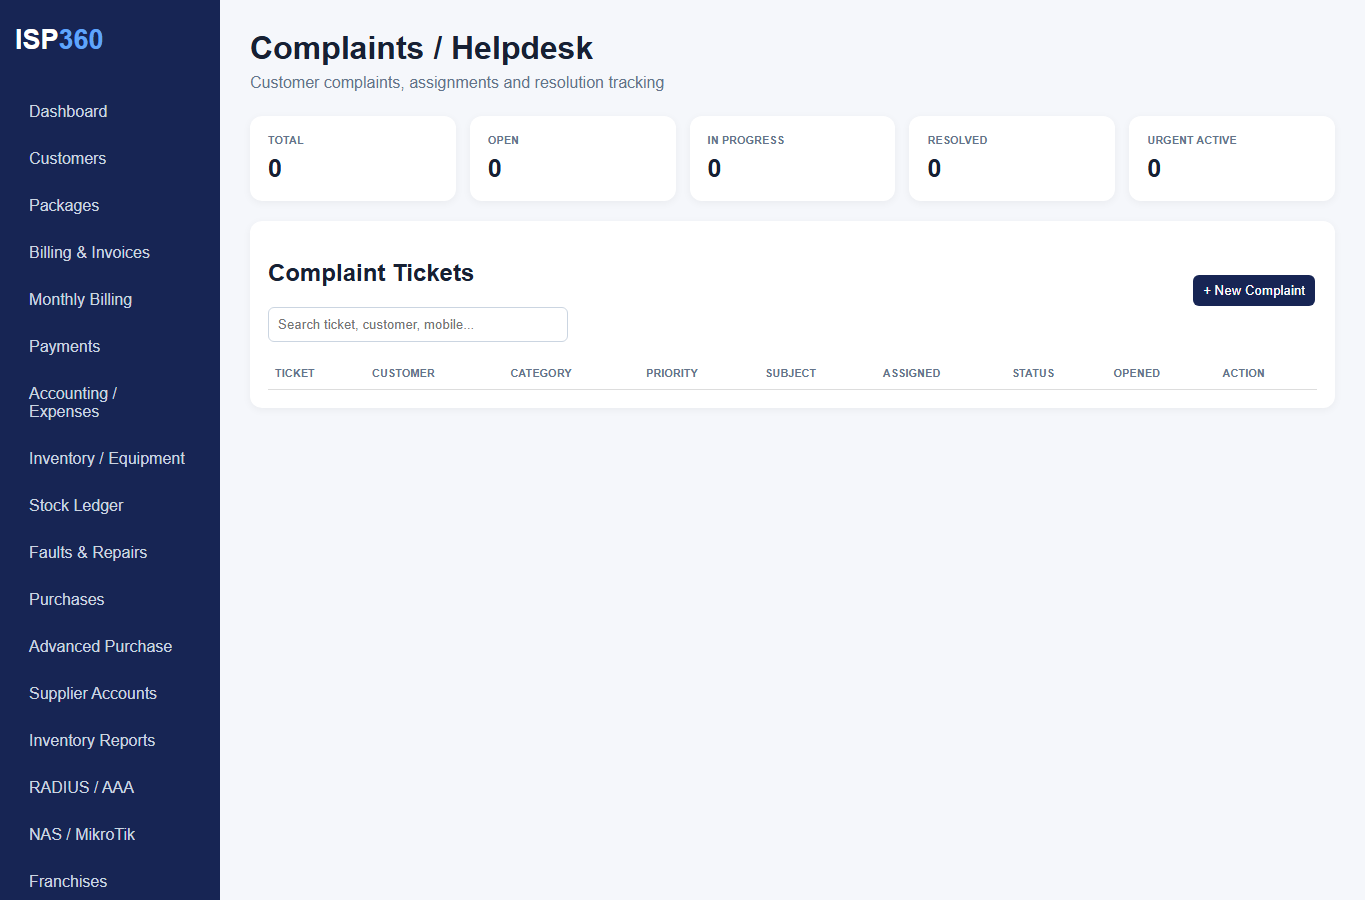
- Open Operations - Complaints.
- Create or review an issue for the correct authorized customer.
- Record the problem, responsible staff member, action and resolution when available.
- Use connection logs, RADIUS health and customer profile to troubleshoot.
- Close the complaint only after the customer issue has been verified.
Reports and audit
Understand activity and maintain accountability.
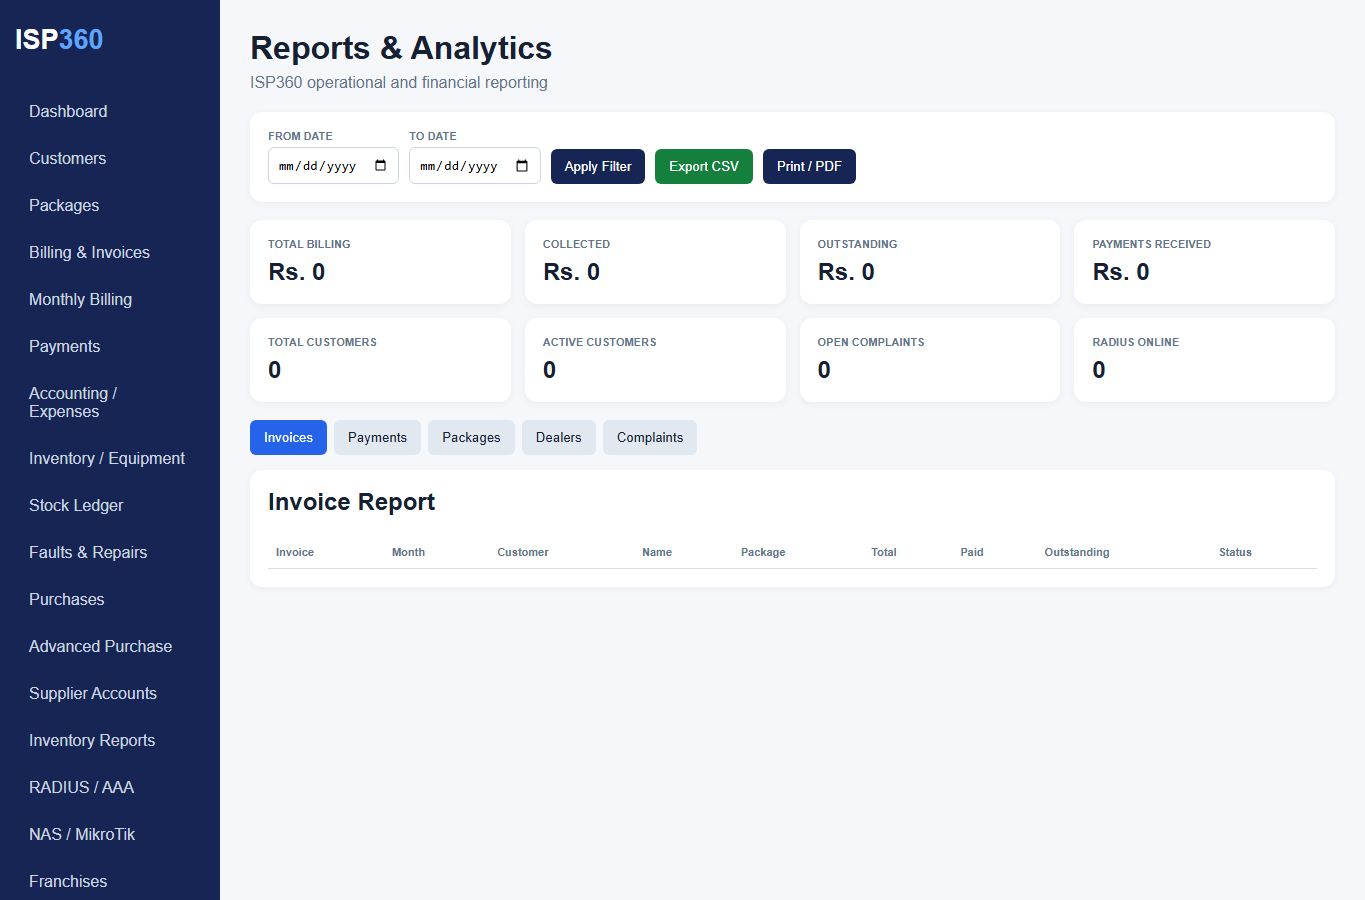
- Open Reports to view reports available in your deployment.
- Review Logs - Audit Trail for recorded management actions.
- Compare sales, payments, outstanding invoices and wallet movements as separate categories.
- Export only the data your role is authorized to access.
- Investigate unusual money movements by checking both sender and recipient transaction references.
License status and updates
Understand deployment entitlement without manual license editing.
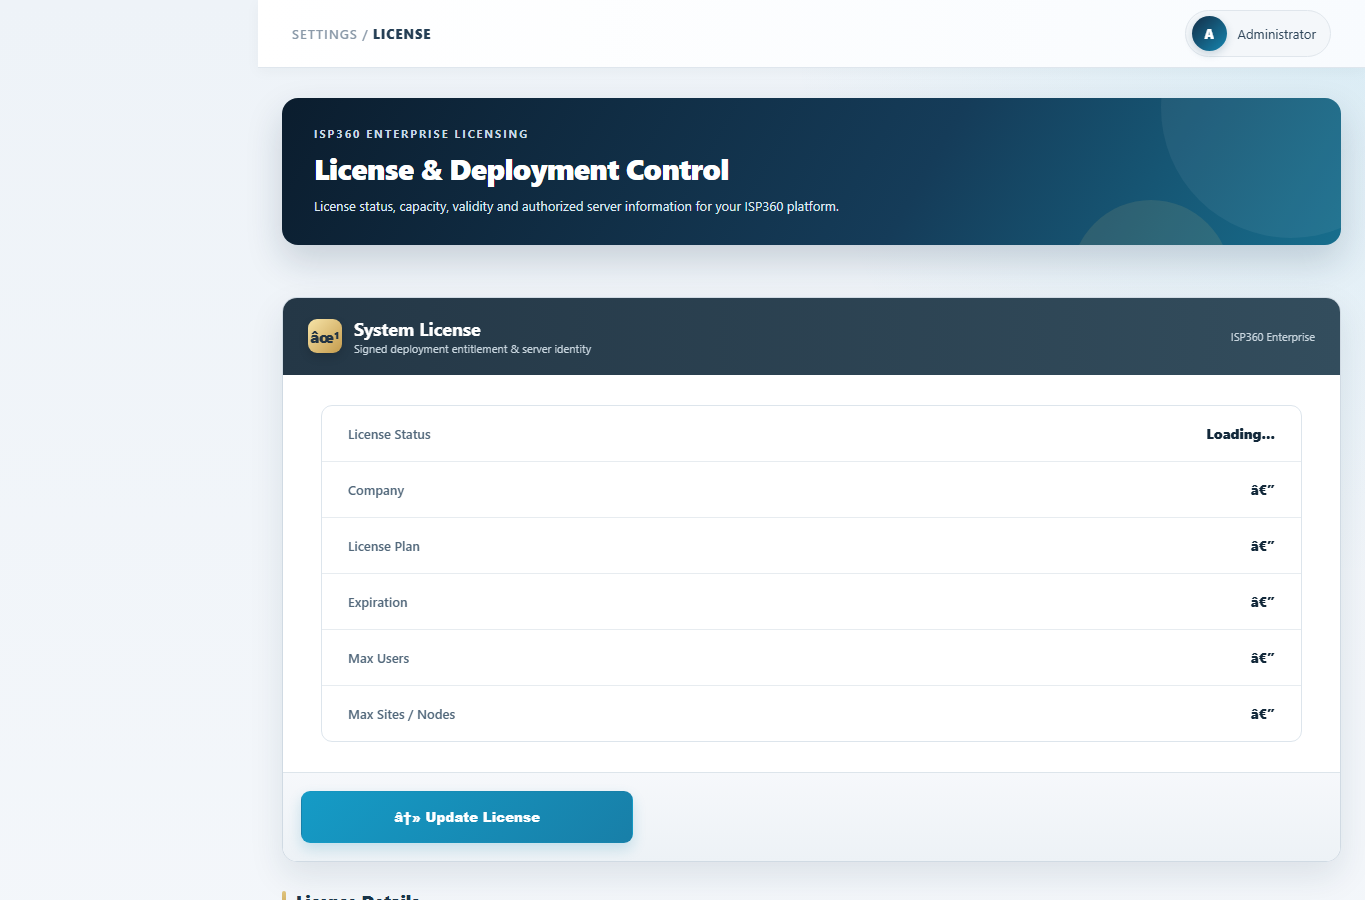
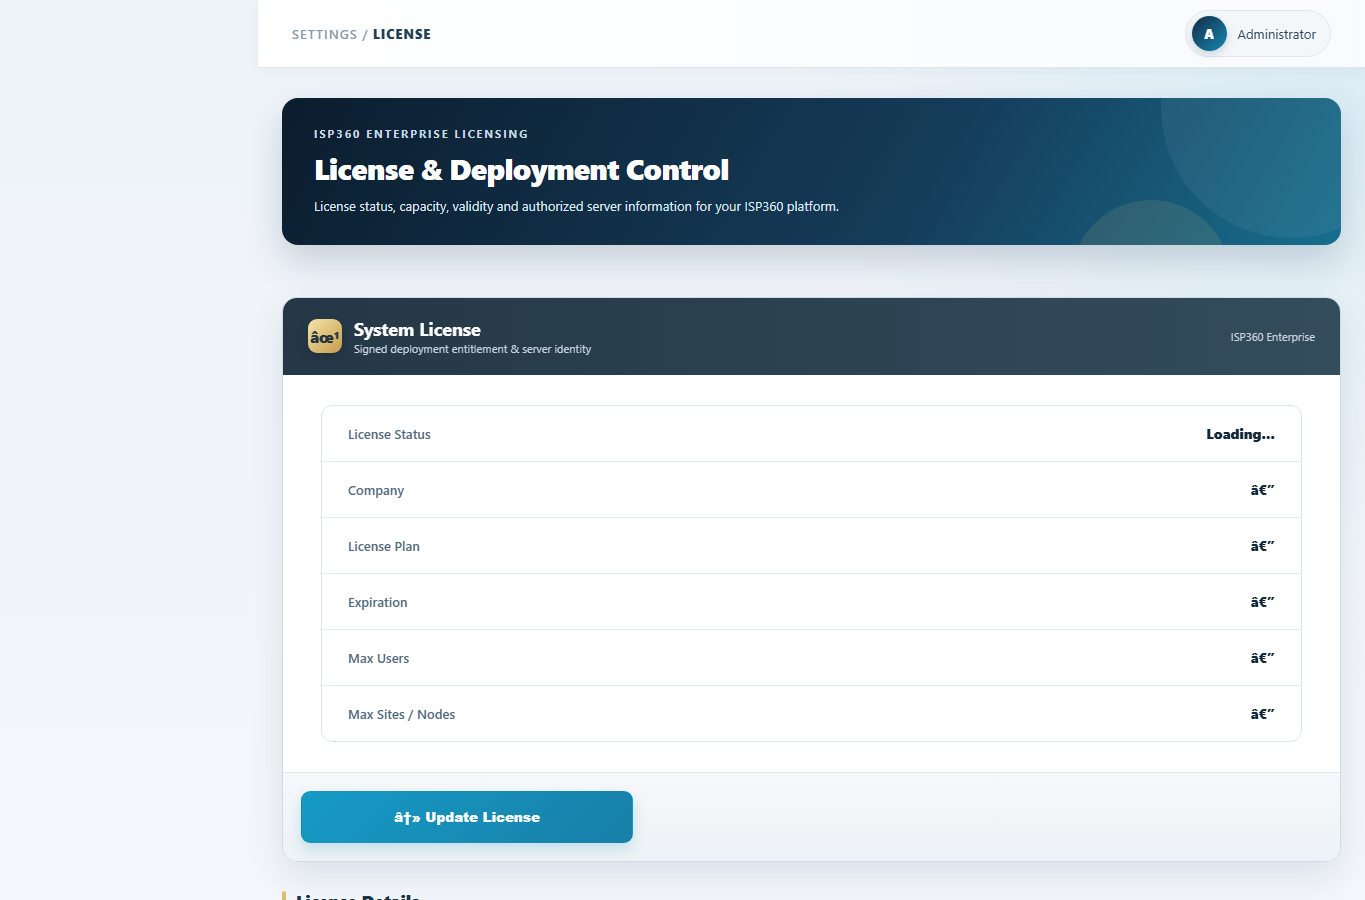
- Open Settings - License & Deployment if your role permits.
- Review company, plan, expiry, allowed limits and security/license status.
- If the client panel provides License Update Request, submit a request to the ISP360 Owner.
- License activation, upload and update are handled by the Owner side after any required verification or payment.
- If a module is missing, confirm that it is included in your deployment and your user role has permission.
Backup and recovery
Prepare for safe recovery.
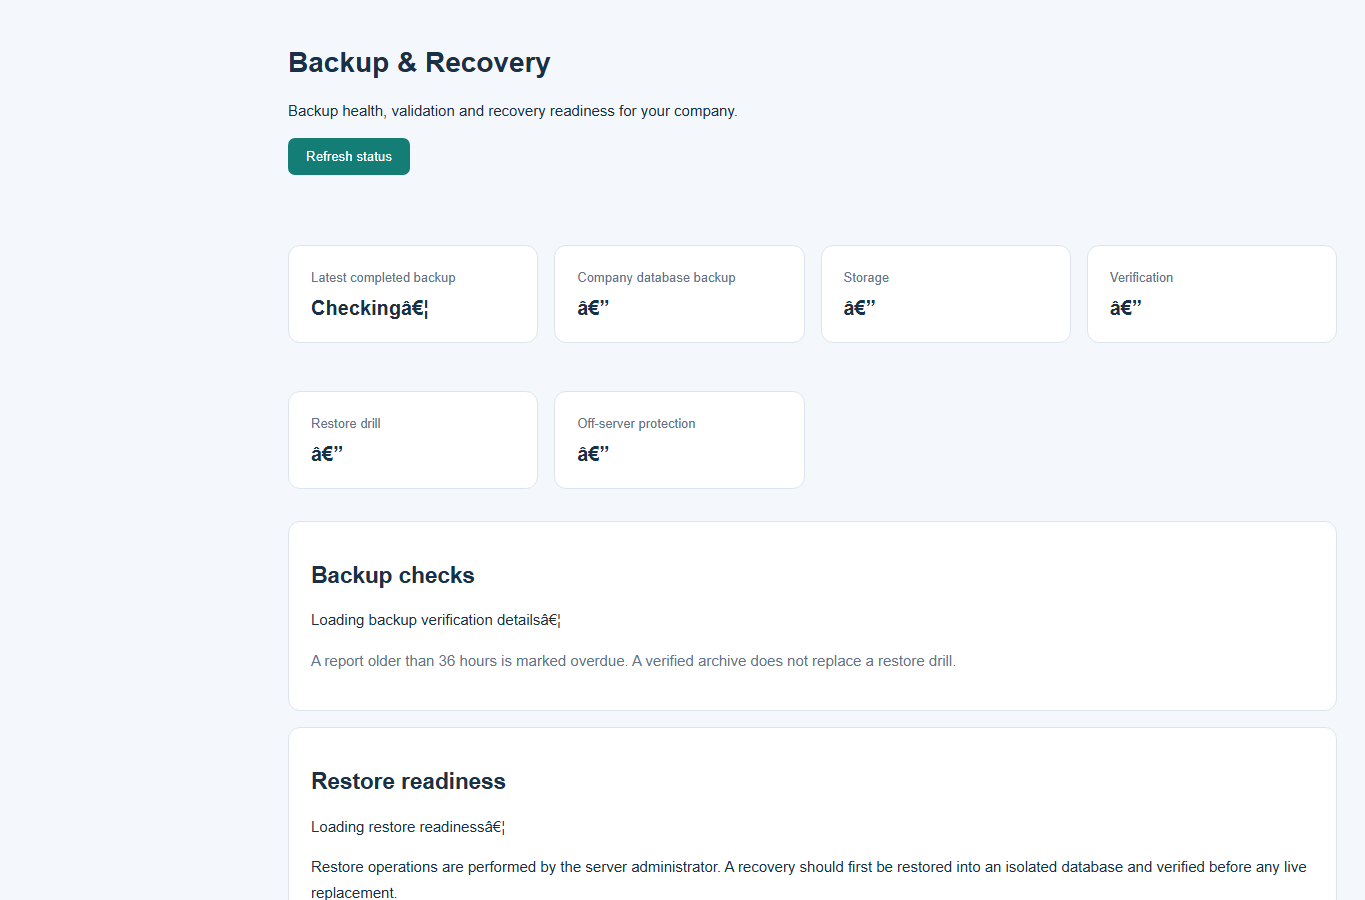
- Authorized staff open Backup & Recovery or Backup Status.
- Verify the timestamp and result of the latest successful backup.
- Keep encrypted backups in approved storage distinct from the live server.
- Use a dedicated test deployment to validate a recovery procedure before relying on it.
- Restore operations can overwrite live data: schedule and authorize them separately.
Settings and staff
Manage staff access safely.
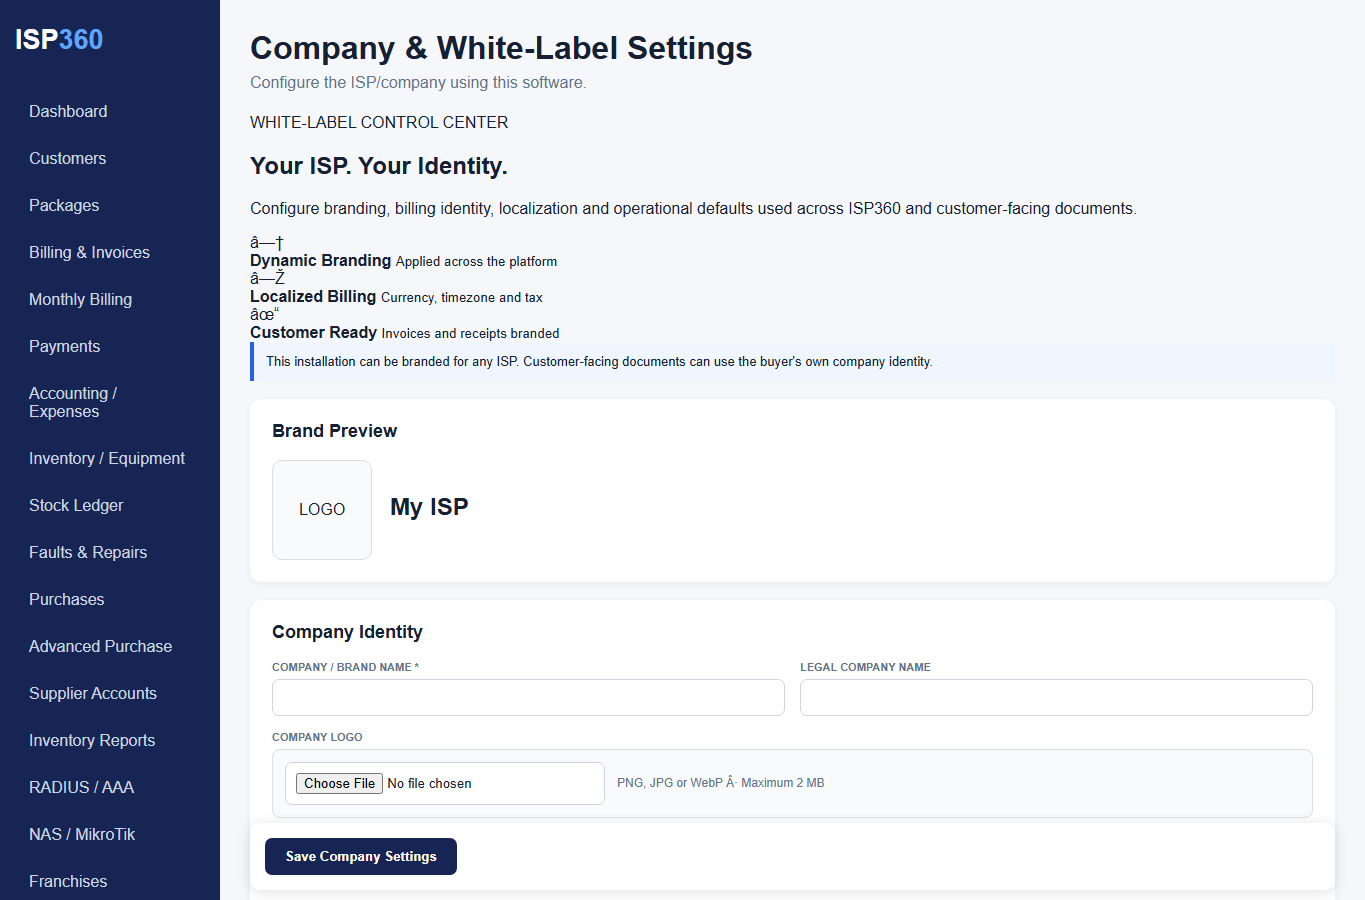
- Company administrators review General Settings, timezone and business identity.
- Create individual staff accounts and assign the minimum required role permissions.
- Use separate approval for high-impact network, financial and restoration actions.
- Deactivate former staff access promptly and review audit records.
- Ensure support contacts and deployment information remain current.
Installation and deployment
Prepare a new deployment safely.
- Use only an official ISP360 installer or ISO distributed by the ISP360 Owner.
- Confirm hardware sizing, storage, backup policy, IP addressing and network connectivity for the intended subscriber load.
- Perform an initial install in a clean test environment before customer migration.
- After installation verify HTTPS, application login, database connectivity, RADIUS/AAA and license status.
- Import or migrate customer data only after a verified backup and a written cutover plan.
- An installation package is not considered production-ready solely because an ISO image exists.
Troubleshooting checklist
A quick path for common questions.
- Cannot log in: verify the URL, credentials and account status; escalate to an administrator without sending passwords.
- Menu missing: check both role permission and licensed module; refresh after a permission change.
- Customer not visible: check Dealer/Sub-Dealer assignment and your allowed hierarchy.
- Payment missing: compare invoice, transaction reference, date and customer scope.
- Wallet transfer uncertain: inspect sender and recipient history before repeating the request.
- PPPoE not connecting: compare username, authentication result, NAS reachability and accounting logs.
- Page returns 403: access may be intentionally denied; do not try another user's identifier.
Next-version roadmap
Features that must not be confused with today's deployed UI.
- Consolidated NOC Tools Center is planned for a future ISP360 release.
- Planned capabilities include authorized WinBox launch, in-browser SSH where supported, network diagnostics and OLT monitoring.
- Advanced approval workflows, live NOC alerts and configuration automation require implementation and validation.
- Specific feature availability may differ between local and international deployment models.